Interior residential painting is more than just a way to refresh the walls of your home; it’s an opportunity to completely transform your living space. A well-executed paint job can enhance the ambiance, reflect your personal style, and even influence the mood of a room. This guide provides an in-depth look at the steps involved in interior residential painting, from selecting the right colors to executing a flawless finish.
Understanding Interior Residential Painting
Choosing the Right Paint
The first step in any interior residential painting project is selecting the right type of paint. There are various finishes to consider, each offering distinct benefits.
- Matte Finish: Ideal for ceilings and low-traffic areas, matte finishes help hide imperfections but can be harder to clean.
- Eggshell Finish: A step up from matte, eggshell finishes are suitable for walls in moderate-traffic areas. They offer a soft sheen and are easier to clean.
- Satin Finish: This finish adds a bit more shine and durability, making it suitable for high-traffic areas such as hallways and family rooms.
- Semi-Gloss Finish: Often used for trim, doors, and cabinetry, semi-gloss finishes are highly durable and easy to clean.
- High-Gloss Finish: This finish is less common for walls but works well for areas needing extra durability and shine, like accents and detailed moldings.
Color Selection
Choosing the right color is crucial for setting the tone of a room. Consider the following factors:
- Room Size and Light: Lighter colors can make a small room appear larger and more open, while darker hues can add a sense of coziness and warmth. Natural light also plays a significant role in how colors appear.
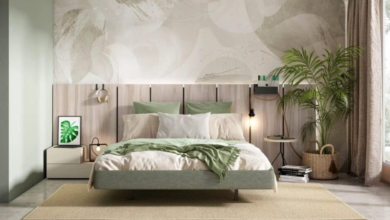
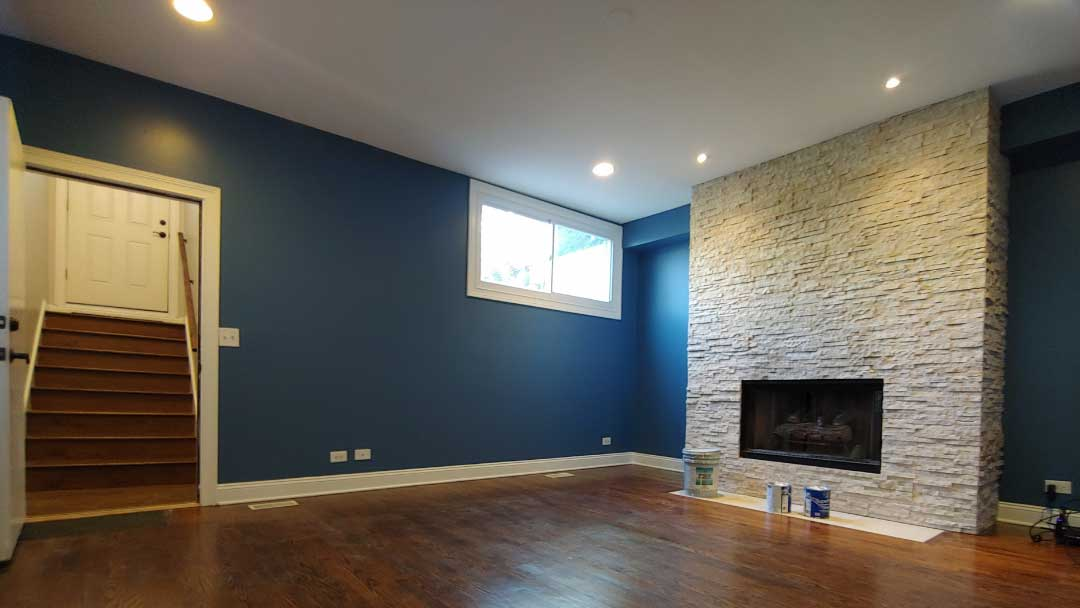
- Mood and Function: Different colors evoke different emotions. For example, blues and greens are calming and ideal for bedrooms, while vibrant colors like yellow or red can energize social spaces like living rooms or kitchens.
- Complementary Accents: Think about how the wall color will coordinate with furniture, flooring, and other elements in the room. Using a color wheel can help you find complementary shades that enhance your space.
Preparing for the Painting Process
Prepping the Room
Preparation is key to achieving a professional finish. Follow these steps to ensure your room is ready for painting:
- Clear the Area: Remove all furniture, or cover it with drop cloths. Protect the flooring with a drop cloth or plastic sheeting.
- Clean the Walls: Dust and clean the walls to remove any dirt or grease. This step ensures better adhesion of the paint.
- Patch and Sand: Fill any holes or cracks with spackle or joint compound. Once dry, sand the areas smooth to create an even surface.
- Tape and Protect: Use painter’s tape to mask off edges, trim, and any areas you don’t want to paint. This will help achieve clean, crisp lines. Linkhouse.
Choosing the Right Tools
Having the right tools can make a significant difference in the outcome of your project. Essential tools include:
- Paint Brushes: Useful for detail work and cutting in along edges.
- Paint Rollers: Ideal for covering large wall areas quickly.
- Paint Trays: Necessary for evenly distributing paint on rollers.
- Extension Poles: Help you reach high areas without the need for a ladder.
- Drop Cloths: Protect floors and furniture from paint splatters and spills.
Executing the Paint Job
Applying the Paint
Once preparation is complete, it’s time to start painting. Here’s a step-by-step approach:
- Prime the Walls: Apply a primer to help the paint adhere better and to cover any stains or previous colors. This is especially important if you’re making a significant color change or painting over a glossy finish.
- Cut in the Edges: Use a brush to paint the edges of the walls where they meet the ceiling, trim, and corners. This technique ensures that the edges are neatly finished.
- Roll the Walls: Using a roller, apply paint in a W-shaped pattern to avoid streaks and ensure even coverage. Work in sections, and blend each section to maintain a consistent finish.
- Apply Additional Coats: Depending on the paint color and type, you may need to apply a second coat for complete coverage. Allow the first coat to dry fully before applying additional layers.
Finishing Touches
After the final coat has dried, carefully remove the painter’s tape. Touch up any areas as needed, and replace any hardware or fixtures you removed. Allow the paint to cure completely before moving furniture back into the room.
Conclusion
Interior residential painting is a powerful tool for transforming your home. By choosing the right paint, preparing thoroughly, and applying the paint correctly, you can achieve a professional-looking finish that enhances both the beauty and functionality of your living spaces. Whether you’re refreshing a single room or undertaking a complete home makeover, this guide provides the essential steps for a successful painting project.